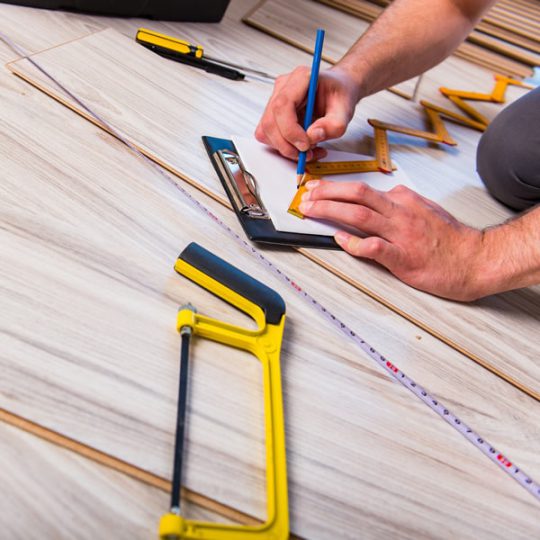
Hardwood Floor Installation
Hardwood floors can provide a refined finish to a wide variety of environments. Due to the natural characteristics of the material, this type of surface is pleasant to the touch and easy to clean …
However, to reap all the benefits of a hardwood floor, it is essential that it is installed correctly.
An installer must be knowledge and follow the manufacturer’s recommendations. Inexperience will lead to increases in material waste and extra hours due to rework and fixing mistakes.
Planning begins by choosing the installation method – Polyurethane glue (PU), or screws. Using a combination of both glue and screws often times can lead to the sturdiest result
PU glue is suitable for floors with fittings of varying lengths with a limit to 2 meters. Screws are usually used on floors with longer pieces which tend to bend over time due to the natural movement of the wood. Once the installation method is determined, the process begins with the preparation of the subfloor, which should be flat, dry, moisture free and clean.
Pre-Installation Steps
Installation of a wooden floor should take place in the final stage of construction if part of a larger project.
Prior to installation, one should confirm if there is enough available material to sufficiently cover the entire area. This simple analysis can prevent later delays. Plan how the pieces will fit together in advance, varying them by tone and length to have the most positive visual impact on the finished project.
Traffic Release
One of the advantages of hardwood flooring is that it can handle traffic almost immediately after installation. If the installation is done with screws/nails, people can immediately walk on the surface as soon as the work is done. If glue is used, there will be a wait time of around three hours before normal traffic may resume. The floor will be fully set after 48 hours.
